Here’s a bit of a review of a new and fairly great little radio as well as a fun, easy project.
It’s no secret that the 220 MHz portion of the amateur bands is seldom used. Also called the 1.25 meter band (or the 135 cm band), this band is seldom used in most places across North America, including locally. It’s generally overshadowed by the popular 2 meter (144 MHz) and 70 cm (440 MHz) bands. Few manufacturers even make a radio that transmits on this band anymore. Even the newest greatest Icom 7900 that costs as much as a small car and does everything from VHF to UHF to 1.2 GHz does not have 220. Manufacturers just don’t make it because the rest of the world can’t talk on this band so there’s not enough demand. But the MRARC club has a 220 repeater that seldom hears a peep. It’s nice if you want a place to hang out and seldom be disturbed, possibly as close as you can come to privacy. It’s probably a dying band, truthfully. Dead bands like this are ripe prey for commercial enterprise looking to buy up areas of the spectrum. Perhaps it’s time to make 220 great again, at least while we still have it.
At home, my shack’s only ability to use 220 MHz was a chinese-made portable so as a bit of a project, I set out to create more of a base-station style setup and start using 220 a bit more. The spoiler alert is that I was able to fully outfit a mobile 220 and antenna for under $200 and so far, I’m pretty happy with it.
To start with, I took a look at what was available for radios. Not much for 220 rigs at all, however Alinco, a relatively trusted name, does make the DR-235TMKIII. A 25-watt single band 220 Mhz mobile, monochrome screen, nothing super fancy. The price, however, is $338 at Radioworld! With taxes and shipping, well over four-hundred dollars for a simple single-band, nothing-fancy radio on a band nobody uses, is lunacy in my opinion. So the Alinco was a non-starter for me. I don’t imagine they sell many of these.
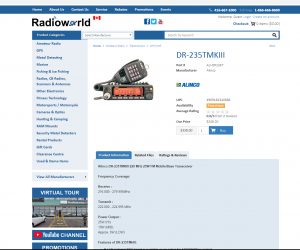 Radioworld Advert for the DR-235TMKIII.
So, I turned to E-Bay and the Chinese-made radios to see what they offered. There are a few Chinese mobile rigs that will do 220 MHz and my search for features was narrowed to one model that I particularly liked and met my needs. One of those needs was that the 220 band had to be full power. A few multi-band radios offer this band but the power is limited to 5 watts, some even less on 220 MHz. One radio I believe was only 2 watts. What’s the point? A radio that claims to operate in this band that only puts out 2 or 5 watts shouldn’t be allowed to be called a 220 MHz radio. So any models that offered it but it was reduced power were out of the running.
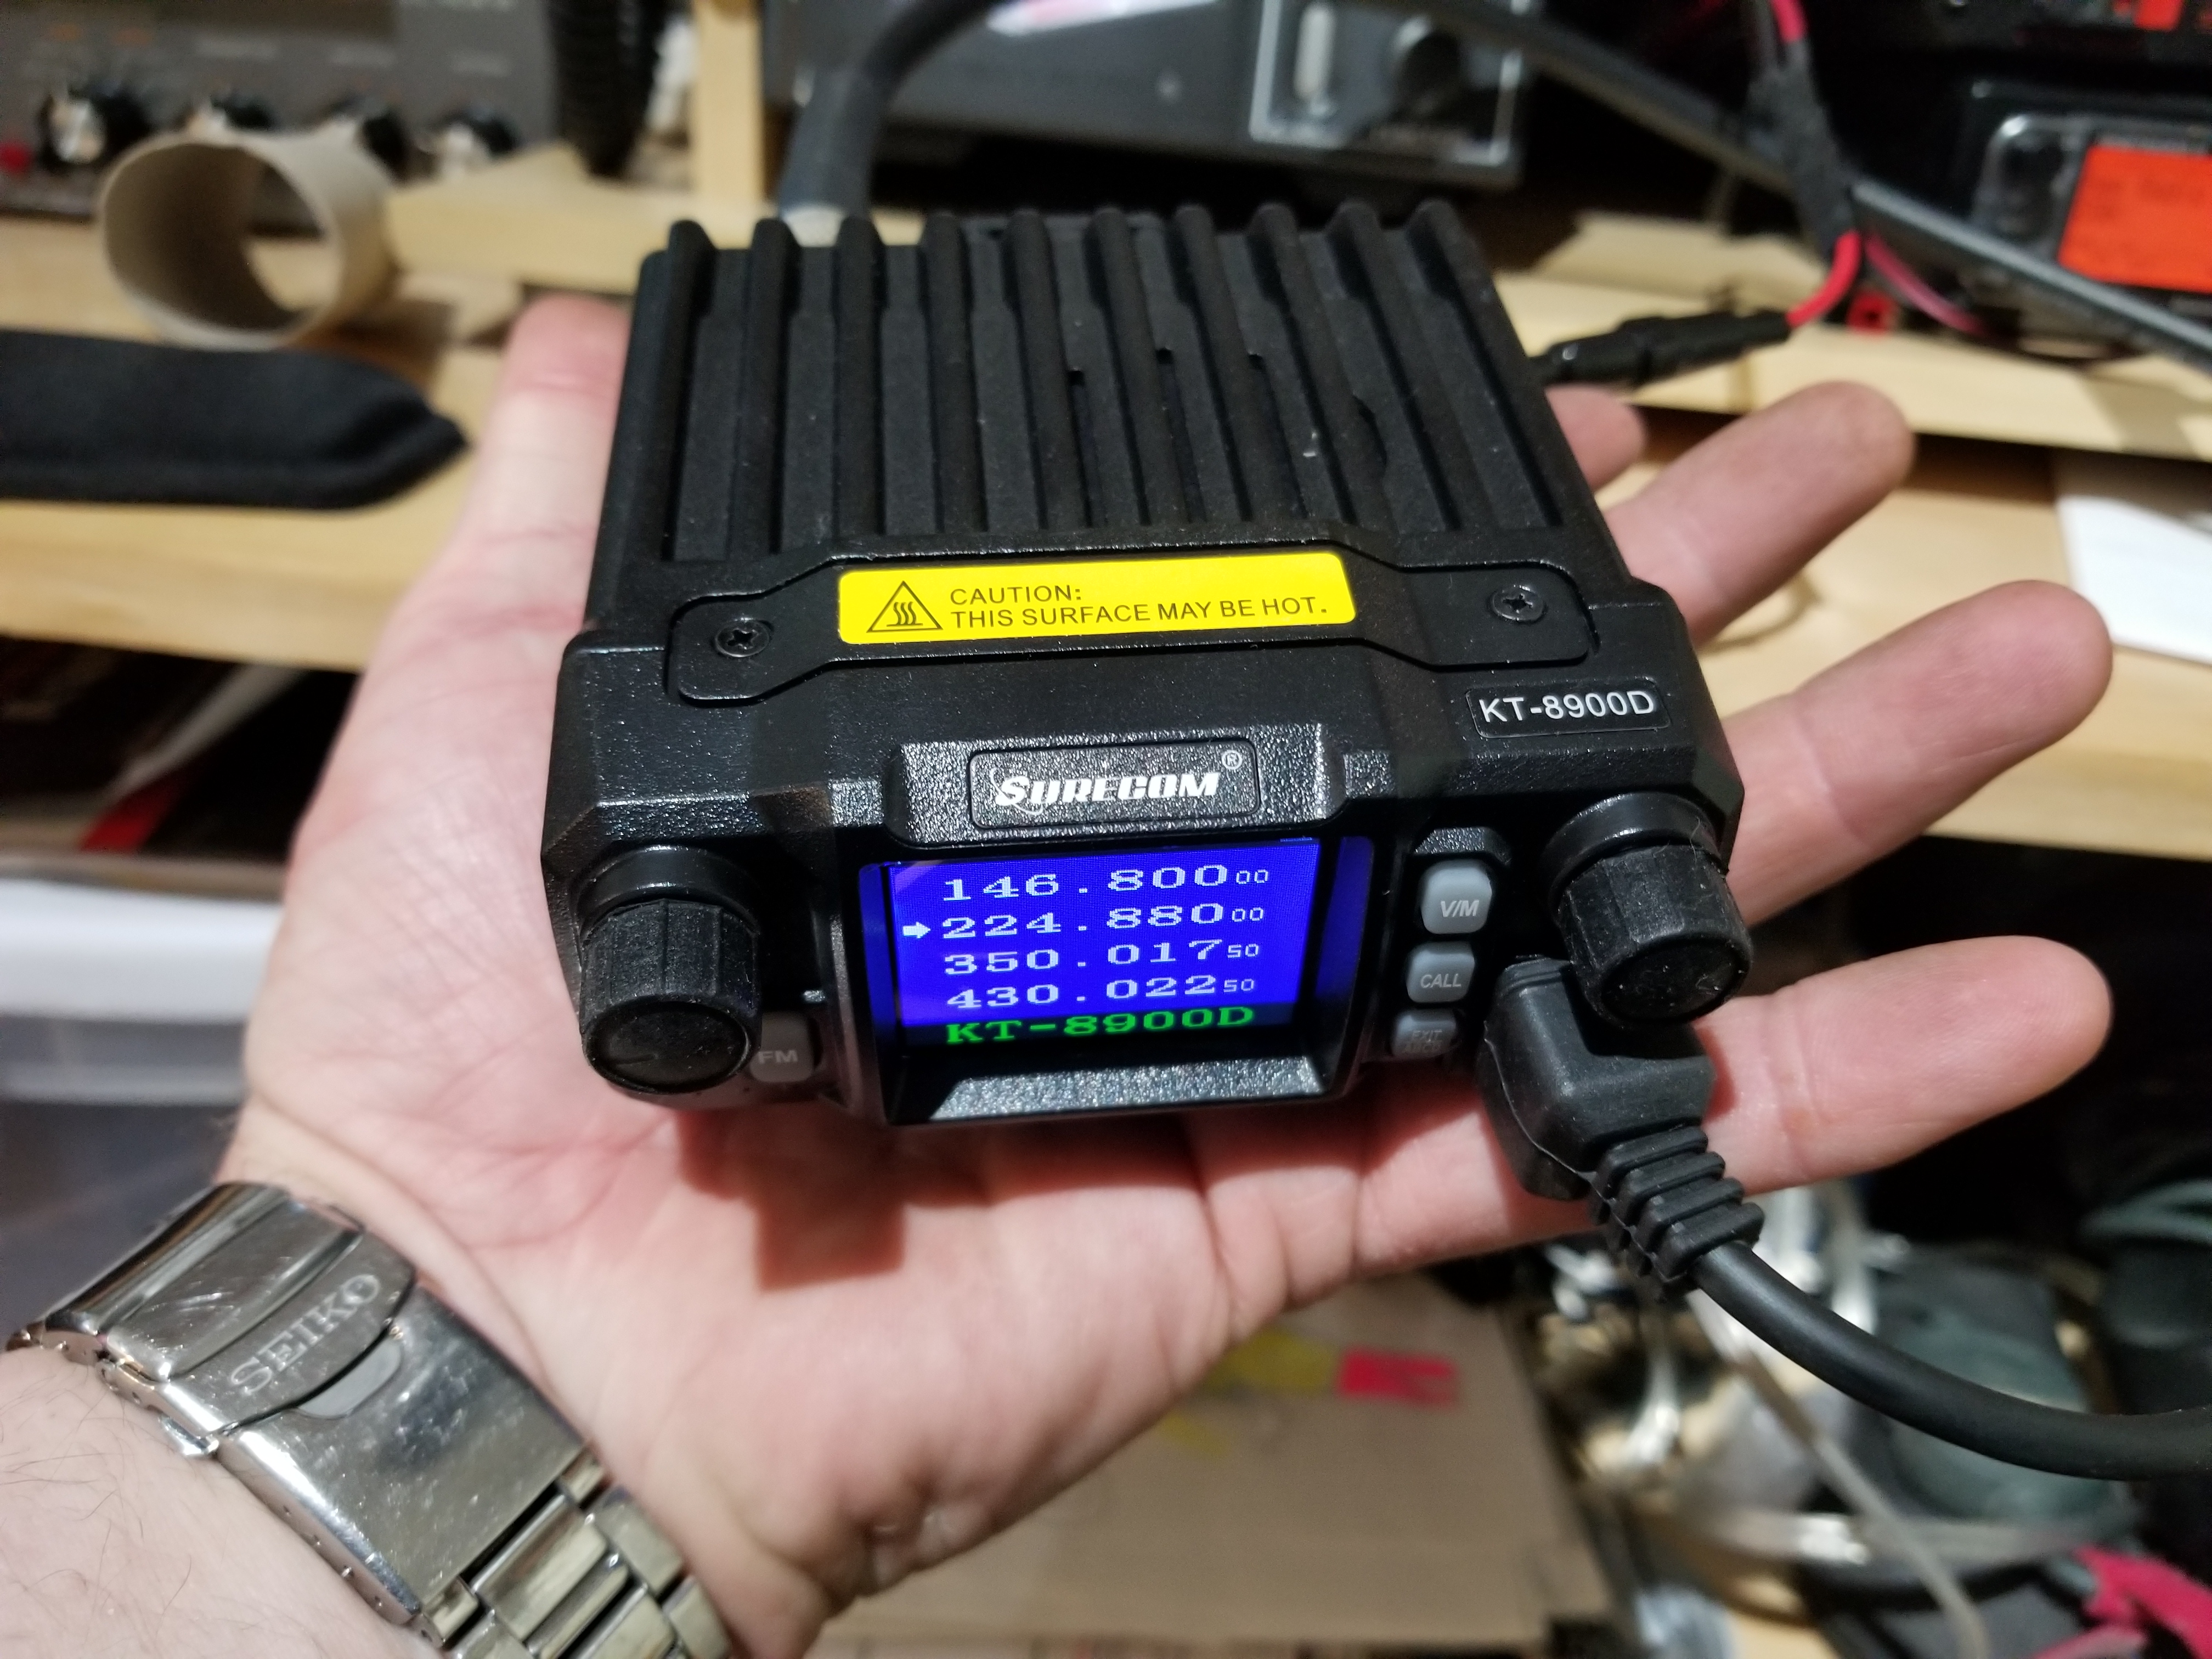
My search was the narrowed to one radio, which had the best features, the Surecomm KT-8900. Not only does it do 220 MHz and puts out a respectable 25 watts, but it’s also a quad-band radio. Wow, a quad-band, which also includes 2-meter and 70-cm bands in one compact package! I found a seller on E-bay selling the KT-8900D for only $99.84, which, with the US exchange rate, worked out to $132 with free shipping. This is almost too good to be true and I worried it might be a scam. But if not, what a deal, especially considering I’m saving $300 off the Alinco I was originally thinking of buying.
So I took a gamble on a potential scam. To my surprise, about a week later it was at my door. What awesome shipping, I’m accustomed to ordering from eBay and my product seems to come from China in something powered by oars.
 E-Bay ad for the radio.
I should point out for those that might be researching this rig, that this radio has a twin-brother made by QYT. The model number is exactly the same, the “KT-8900D” and the screen is identical. The only difference appears to be the that QYT has reversed the left and right side buttons. The Surecomm has three buttons on the right side and two on the left side. The QYT has the same five buttons with the same names/features, but the buttons are on the opposite sides. Likely a minor change that’s just enough to avoid some type of patent or trademark infringement, but still sell the same radio. From what I can tell, this is the identical radio from two separate manufacturers, probably the same electronics inside.
I may be wrong but I believe I saw the QYT version of this radio for sale at a local supplier, Fleetwood Digital in Surrey.
 The QYT version, with three buttons left of the screen and two on the right.
So, as I said, just about a week later, my radio arrived, surprise, it was not a scam! Let me tell you, the photos online don’t really give you an idea of how tiny this little radio is. Here’s a photo of it showing that it literally fits in the palm of my hand.
Also, it came with the mounting bracket and all screws (Icom- are you listening? My ID-5100 and IC-7100 didn’t come with mounting brackets). It also included a 12 volt power cable and cigarette lighter plug. I’m pretty impressed with what I get for $130 Canadian.
I should point out here that I’ve been calling it a quad band, however one of the bands is 350 MHz, something that is not an amateur band, at least not here. You have four lines of display on the screen and it appears you can pretty much enter anything from 100-ish to 400-ish and it will at least listen. Maybe transmit as well, I don’t know and didn’t care to test it as I’m only interested in the amateur bands and have no intention of transmitting out of those bands. Some testing with a dummy load though might be smart if you intended to mount this in your vehicle and cross the border. Apparently the american authorities take a much stricter approach on radios that can transmit out of band and even possessing it might cause you trouble.
So, next came the antenna. As I said, I did all of this for under $220 so that includes an inexpensive antenna. I wanted to make my own and didn’t bother researching was was available commercially. I’m sure with so few manufacturers making 220 MHz radios, that there probably would be a similarly lackluster selection of antennas available.
I started with a homemade ground-plane made from an antenna connector and some TIG-rods from my welding shop. Coat-hanger wire would also work just as well. I have a spreadsheet where I compile pretty much every formula and wisdom I’ve ever come across since I started in amateur radio. So I punched the club’s 220 repeater into that calculation. It told me that I should use a 31.7 cm radiator and 35.5 cm radials. With all the materials on-hand in my shop, I had that whipped-up in less than an hour. After testing it and finding a very low SWR, I was on the air!
 My whip/radial calculator.
I also made a mag-mount antenna to stick on a metal filing cabinet in my shack. For that, I decided to modify a CB antenna that I picked up at the local PrincessAuto for $39. It probably goes on sale for half that, but I wanted it right away and didn’t want to wait so I paid full price.
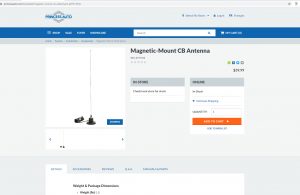 Princess Auto Online Catalog showing antenna.
Now you probably noticed that this is a CB antenna, so yes, it had to be modified because the CB band is nowhere close to 220 MHz. The first step was to remove the sticker on the base, unscrew the nut and the center plastic core drops out. Wound to that was about 3 feet of magnet wire, which I clipped/removed. I then re-soldered the connection straight to the coax. Then, with my analyzer, I snipped the whip, and snipped and snipped some more until the whip was a fraction of its former self. This tuned up nicely and after winding a choke on the ample coax, I was in business again.
Here’s a meter showing my test of the radio. Almost 27 watts out. A little tuning still to be done with an SWR of 1.93 but still usable.
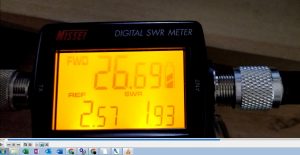 Output power of radio
Now, here’s the best part… The programming of this radio is incredibly easy. Not only simple and intuitive from the radio’s keypad (which frankly surprised me), but even better- it is supported by CHIRP! You can buy a programming cable online, but why spend $25 on a programming cable when you can have the fun of making your own for only $6!
All you need is a CP2102 USB to UART module. I ordered mine from Amazon and because I subscribe to Amazon Prime, I ordered it at 10:30 at night, and it was at my door before 10 am the following morning. These sell for $12.85 for two of them if you buy from “Lychee Limited”, which is the overnight delivery option. You can get them far cheaper if you don’t mind waiting a little bit. Then, all you need to do is solder the TX, RX and Ground connections to a stereo 3.5 mm headphone jack and you have yourself a programming cable. The outermost tip of the headphone plug is the TX, the middle ring is the RX and the long cylinder that goes into the black plastic housing is the ground.
 CP2101 USB to UART modules.
I plugged the 3.5 mm headphone jack into the radio’s data port then plugged the USB into my computer. Windows made its little “da-ding” sound to tell me it was recognized. At the same time, a super-bright LED on the chip that was the size of mosquito-dandruff, signaled that the USB was operating and things were good.
Sure enough, it worked. In CHIRP, there was a menu showing my radio as a drop-down item. It was recognized! Programming was super-quick, just a click to upload and the radio was programmed. Probably one of the easiest radio programming sessions ever.
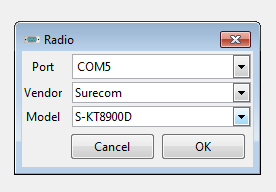 CHIRP screen recognizing the radio.
Also very cool is that the radio’s screen is fully customize-able. Some radios let you display your call-sign at start-up; this one gives you all 10 lines of the screen to display whatever you want in whatever color you want. All colors can be customized from fonts to screen and other “trimmings”. Even the model number showing at the bottom can be changed to your callsign if you wish.
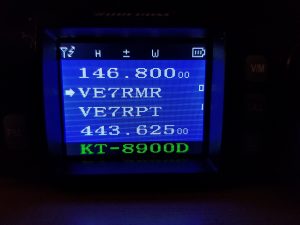
So far, I’ve played with it a bit and I’m pretty happy with this little radio. I get good signal reports and it seems to be operating perfectly. Time will tell of course, but for now, I’m pretty happy. I’ll update after a few months to advise how the test is going.
-73-
